Understanding Indoor Lighting Basics
Indoor photography is a unique domain that significantly relies on understanding light to achieve impactful images. The two primary sources of light available to photographers are natural light and artificial light. Natural light, which comes from windows, skylights, or other openings, is often preferred due to its soft and dynamic qualities. However, relying solely on sunlight can be limiting, as daylight is not always consistent. Photographers must also familiarize themselves with the characteristics of artificial lighting, which includes lamps, studio lights, and flash units. These sources can provide more control over exposure and color temperature, enabling photographers to create visually compelling images regardless of external conditions.
Another crucial aspect of indoor lighting is the direction and quality of light. Light direction determines how shadows and highlights are cast, influencing the mood and texture of an image. For instance, sideways light can enhance texture, while frontal lighting can minimize shadows, leading to flat results. The quality of light—whether hard or soft—also plays a pivotal role. Soft light minimizes harsh shadows and is often desirable in portrait photography, while hard light can create striking contrasts and is beneficial in depicting detail in still life. Understanding these variations helps photographers make informed decisions about their lighting setups.
Assessing existing light conditions is vital when working indoors. Photographers should evaluate the intensity and color temperature of the light, as mixed lighting environments can create color casts that complicate post-processing. Common challenges faced in indoor settings include low light conditions, which may necessitate the use of higher ISO settings or longer exposure times. Color temperature issues arise when different light sources emit varying colors—incandescent bulbs typically produce warmer tones, while fluorescent lights lean towards cooler hues. To navigate these challenges effectively, photographers can utilize white balance settings and select appropriate lighting accessories, ensuring that their indoor images maintain color fidelity and clarity.
Essential Lighting Accessories for Indoor Photography
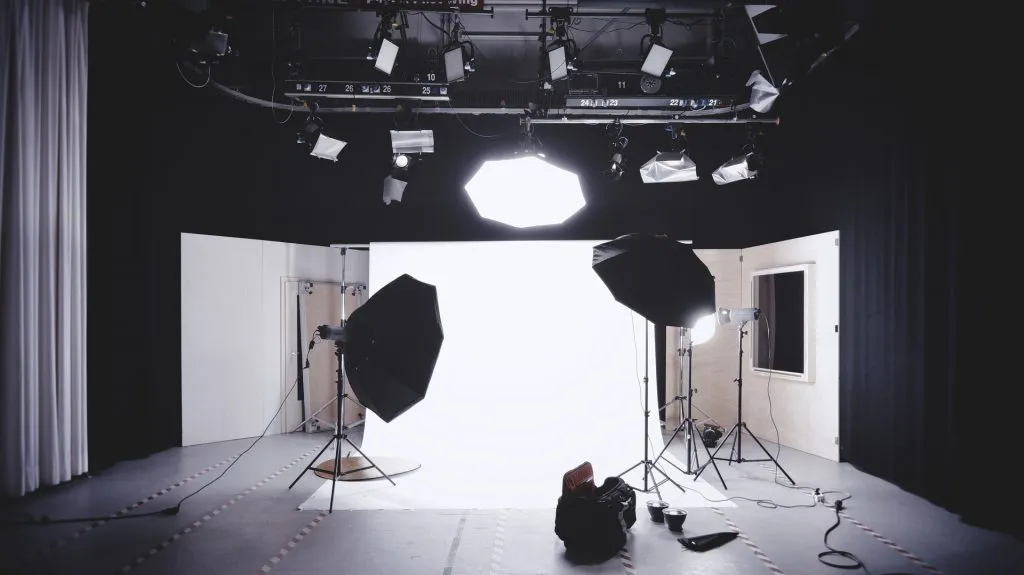
Indoor photography presents unique challenges, primarily due to the often limited availability of natural light. To effectively illuminate your shots, investing in essential lighting accessories is crucial. This guide will explore the most impactful tools that every indoor photographer should consider, focusing on light modifiers and lighting equipment.
Softboxes are one of the most popular lighting accessories among indoor photographers. These light modifiers diffuse and soften light, reducing harsh shadows and creating a flattering glow perfect for portraiture and product photography. They come in various sizes and shapes, allowing photographers to choose options that best suit their shooting style and specific scenarios.
Umbrellas are another valuable light modifying accessory. They can be used to bounce light off surfaces or to diffuse it, providing versatility in challenging lighting conditions. They are typically lightweight and portable, making them a favorite choice for photographers who need a quick solution for indoor lighting setups.
Reflectors are additional components that can significantly enhance indoor lighting quality. By redirecting existing light or light emitted from your primary source, reflectors can fill in shadows and highlight features of your subject. These are often available in various materials and colors, providing further control over the tonal dynamics of your shots.
Beyond modifiers, the choice of lighting equipment is also pivotal. LED panels have become increasingly popular owing to their energy efficiency and adjustable brightness settings. They are ideal for video and still photography alike, providing consistent lighting without generating excessive heat.
Ring lights, often favored by beauty and lifestyle photographers, deliver even illumination that minimizes shadows on the subject’s face. This makes them perfect for close-up shots, such as in makeup tutorials or product promotions.
When selecting lighting accessories, consider your specific needs and budget. Assess the types of photography you will be engaged in and opt for accessories that complement your shooting style. This strategic approach will ensure that you invest in the right tools to effectively illuminate your indoor photography sessions.
Techniques for Effective Indoor Lighting
Indoor photography presents unique challenges that can be effectively addressed with the right techniques and lighting accessories. One of the fundamental aspects of achieving great indoor shots lies in balancing natural and artificial light. Natural light can transform the ambiance of a photograph, but it can also create highlights and shadows that may distort the subject. Photographers should assess the quality and direction of natural light entering the space and use it strategically. When complementing this light with artificial sources like softboxes or LED panels, it’s essential to match the color temperature. This can be achieved by adjusting the white balance settings on the camera or using color gels over artificial lights to harmonize with the natural light spectrum.
Understanding how to use color gels is another valuable technique in indoor photography. These accessories allow photographers to manipulate the color temperature of their artificial lights, enhancing the visual narrative of the shot. For instance, using a warm amber gel can create a cozy atmosphere, making the images feel more inviting, while a cool blue gel can evoke tranquility. Experimenting with different gel colors can help in achieving the desired emotional tone, a crucial element in storytelling through photography.
Positioning lights effectively plays a pivotal role in setting the mood and achieving desired effects. Photographers can utilize lighting setups such as three-point lighting, where key, fill, and backlights work harmoniously to shape the subject and create depth. Additionally, utilizing diffusers can soften harsh light, which is particularly useful in indoor settings where shadows can be stark. Troubleshooting common lighting problems, such as unwanted glare or overly dark areas, can often be resolved by adjusting the angles of light sources and incorporating reflectors. By mastering these techniques, photographers can significantly enhance their indoor shoots, ensuring that every shot is not only well-lit but also visually compelling.
DIY Lighting Solutions for Indoor Photography
Creating beautiful indoor photographs does not always require a hefty investment in professional lighting equipment. There are budget-friendly DIY lighting solutions that anyone can assemble using common household items. These innovations can significantly enhance your photography while allowing you to explore your creativity.
One popular DIY project is the softbox. A softbox helps diffuse light, reducing harsh shadows and creating a more flattering illumination for subjects. To make a simple softbox, you can use a cardboard box, aluminum foil, and a white sheet. Start by cutting out one side of the cardboard box. Cover the interior of the box with aluminum foil to reflect light, then attach the white sheet to the cut-out side to diffuse the light. Once your softbox is assembled, position a soft light source, like a lamp or LED panel, inside the box, directing the light towards your subject.
Reflectors are another essential lighting accessory that you can create easily. To make a reflector, take a piece of cardboard and cover one side with aluminum foil. The shiny surface will bounce light back onto your subject, helping to fill in shadows. You can use this makeshift reflector at various angles and distances to achieve different effects, enhancing the overall quality of your indoor photography.
Repurposing existing lamps and flashlights can also provide innovative lighting solutions. For instance, creating a bounce light effect can be as simple as aiming a flashlight at a wall or ceiling to allow the light to scatter and soften. Additionally, if you have lamps with adjustable brightness levels, consider using colored gels or sheer fabric to alter the light’s quality and tone according to your needs.
By utilizing these DIY lighting solutions, indoor photographers can explore new dimensions in their work while keeping their costs down. With a little creativity and resourcefulness, anyone can achieve professional-looking results from the comfort of their own home.